
Building your own toy car equipped with a mini motor not only ignites creativity and problem-solving skills but also offers a hands-on way to understand basic mechanical concepts. This DIY project can be a fun activity for kids and adults alike, resulting in a toy that can actually move. In this article, we will break down the process into four parts: Materials Needed, Basic Design Principles, Assembly Instructions, and Testing & Customization. Each part will highlight two essential points to guide you through the entire project.
Part 1: Materials Needed
1.1 Basic Components
Before starting your DIY toy car, it is crucial to gather all the necessary materials. Here’s a list of basic components you will need:
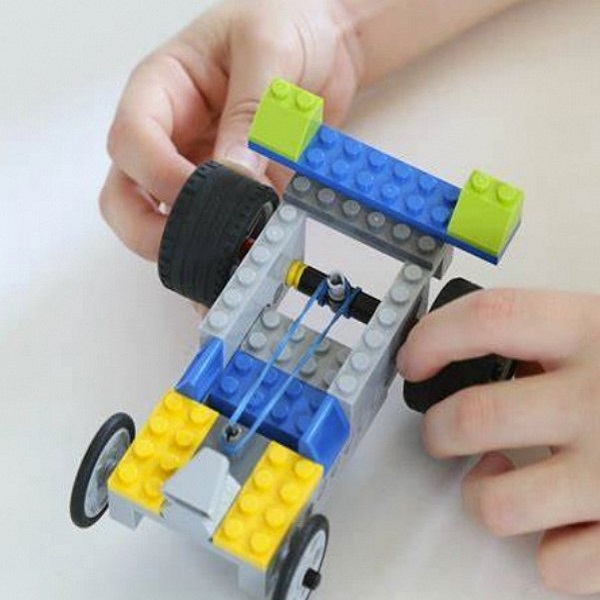
Plastic Bottle or Cardboard: This will serve as the body of your toy car. A plastic bottle is lightweight and durable, while cardboard can be easily shaped and customized.
Mini Motor: A small DC motor is perfect for powering your toy car. You can find these at hobby shops or online.
Wheels and Axles: You can repurpose toy wheels from old toys or purchase small wheels online. For axles, consider using wooden skewers or metal rods.
1.2 Additional Materials
Motor Mount: Depending on the design of your project, you may need a motor mount to secure the motor in place. This can be made from materials such as cardboard, plastic, or wood.
Switch: A switch is important for controlling the on/off function of the motor. You can use a simple slide or toggle switch for this purpose.
Decorative Materials: If you want to personalize your project, consider adding decorative materials such as stickers, paint, or markers to make it unique.
Safety Gear: Depending on the size and power of your mini motor, it’s important to prioritize safety. Consider using safety gear such as goggles, gloves, and a mask when working with the motor and other electrical components.
Instruction Manual: If you’re new to working with mini motors, it’s helpful to have an instruction manual or guide to refer to for troubleshooting and assembly tips.
Other Tools: Depending on the complexity of your project, you may also need additional tools such as a soldering iron, wire strippers, and a multimeter for testing electrical connections.
Part 2: Basic Design Principles
2.1 Understanding the Motor
Gear Ratio: Understanding the gear ratio is crucial in controlling the speed and torque of the mini motor toy car. By using different gear sizes, you can alter the motor’s output speed and force, allowing for customization according to the specific requirements of your project.
Friction: Friction between the motor shaft and the wheels affects the efficiency and overall performance of your toy car. Minimizing friction and ensuring smooth movement is essential for maximizing the motor’s energy and prolonging the lifespan of the components.
Power Consumption: By analyzing the power consumption of the motor, you can optimize the design and operation of the toy car. Understanding the motor’s energy requirements will help in selecting the appropriate battery size and capacity to ensure efficient and long-lasting operation.
Heat Management: Operating a motor for an extended period can lead to heat buildup, potentially affecting its performance. Understanding how to manage heat through ventilation, heat sinks, or other cooling methods is crucial for maintaining the motor’s efficiency and preventing overheating issues.
By considering these additional concepts, you can enhance your understanding of the mini motor’s functionality and make informed decisions when assembling and customizing your toy car.
2.2 Designing the Chassis
The chassis is the framework of your toy car. It should be sturdy enough to hold the components while still being lightweight:
Dimensions: The size of your chassis should be proportional to the wheels and motor. A balanced structure prevents tipping and ensures smoother movement.
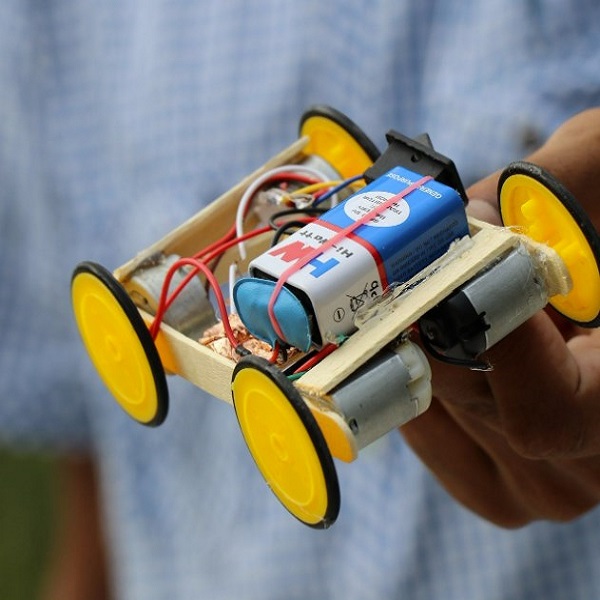
Weight Distribution: Place the motor and battery pack in the center to maintain even weight distribution across the chassis. This improves stability and allows for better control while moving.
Plan your design before proceeding to assembly to avoid potential issues.
Part 3: Assembly Instructions
3.1 Constructing the Chassis
Once you have your materials and design in mind, it’s time to start building:
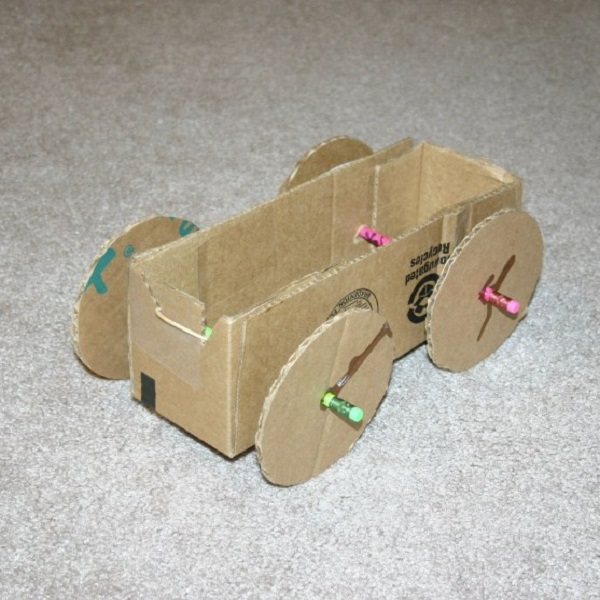
1. Cutting the Body: If you’re using cardboard, cut a rectangular piece that serves as the base of your car. If using a plastic bottle, you may need to cut it down as necessary, ensuring it’s easy to attach wheels and the motor.
2. Attaching the Axles: Position two axles parallel to each other, spaced apart appropriately to support the wheels. Attach the axles to the chassis using glue or tape. Ensure they can spin freely.
3.2 Connecting the Motor and Battery
Now, it’s time to install the motor and connect it to the power source:
1. Mount the Motor: Secure the mini motor to the chassis, ideally near the rear axle. This motor will power one of the wheels via a gear or direct attachment. If needed, create a small platform or slot to hold the motor in place.
2. Wiring: Connect the battery pack to the motor using electrical wires. Ensure the positive terminal on the battery connects to the positive terminal on the motor. Use connectors for a secure fit and insulation tape to avoid short circuits.
Follow these steps carefully, as proper assembly is crucial for the car’s functionality.
Part 4: Testing & Customization
4.1 Initial Testing
Stability Test: Place the mini motor toy car on a flat surface and observe its stability. Make sure that all the wheels are touching the ground and that the car doesn’t tip over easily.
Speed Test: Use a measuring tape or a marked surface to measure the distance the mini motor toy car travels in a certain amount of time. This can help you evaluate its speed and performance.
Obstacle Course Test: Set up a simple obstacle course using objects like books, small boxes, or other items. Test how well the mini motor toy car maneuvers around obstacles and how it handles rough terrain.
Battery Life Test: Run the mini motor toy car continuously for a set amount of time to test the battery life. This will give you an idea of how long the batteries will last during regular use.
Sound Test: Listen for any unusual sounds or vibrations during operation, as these could indicate issues with the motor or other components.
By conducting these tests, you can ensure that your mini motor toy car is functioning as intended and make any necessary adjustments or repairs.
4.2 Customization Options
Once your toy car is operational, feel free to get creative and personalize it:
Painting and Decorations: Use paint, stickers, or markers to decorate your toy car. You could also add features like headlights made from bottle caps or a spoiler from cardboard.
Performance Enhancements: Experiment with different gear ratios by attaching larger or smaller wheels, or even multiple motors for added speed and power. Adjust the weight by adding or removing items to enhance stability and performance.
Customization not only enhances the appearance of your toy car but also allows you to experiment with its capabilities.
Conclusion
Building your DIY toy car with a mini motor can be an impressive project that merges creativity with engineering. By following the outlined steps, you can successfully construct a functioning car, learn some fundamental concepts about mechanics, and enjoy the satisfaction of a job well done. Engage in the testing phase to cultivate a deeper understanding, then let your imagination run wild with various customization options. Whether you do this as a solo project or with family, the fun is in both the journey and the destination!


